Your skin doesn’t know the vacation is over. It’s still processing five days of sun, salt, and chlorine long after you’ve unpacked your suitcase — which is exactly why the first 72 hours home matter more than any product you packed. This is a post vacation skin recovery routine built around patience, not intervention: cool it gradually, seal it in, then leave it alone. Rushed fixes, especially ice, tend to backfire. Soothing sun stressed skin naturally isn’t about doing more — it’s about doing less, in the right order.
You’re standing at the bathroom sink at 11pm, suitcase still zipped by the door, and your shoulders look like they belong to someone else. Tighter. Pinker than you remember them being on the beach that afternoon. You reach for the freezer.
Don’t.
I did this once, years ago, home from a trip to the Amalfi coast that I’d underestimated in every possible way — the sun there is sneakier than it looks, softer somehow, which fooled me into skipping reapplication after lunch. By evening my chest was radiating heat like a stovetop. So I grabbed ice cubes straight from the tray and pressed them against my collarbone, thinking I was being clever.
I wasn’t. I woke up with two raw, blistered patches that took longer to heal than the sunburn itself would have.

Why Ice Cubes Make Things Worse, Not Better
Here’s the part nobody tells you at the pharmacy counter: sun-stressed skin is already inflamed, and applying something that cold creates a second injury layered on top of the first. The extreme temperature drop causes the tiny blood vessels near the surface to clamp shut suddenly — tightened blood vessels, essentially — which can starve already-stressed tissue of the blood flow it needs to start repairing itself. Add direct ice-to-skin contact and you risk a cold burn on top of a heat burn. Two problems instead of one.
What your skin actually wants is a gradual temperature shift. Not a shock.
Step 1: Gradual Thermal Cooling
Start with lukewarm, not cold.
The instinct to blast yourself with the coldest water possible is understandable — you’re hot, you’re uncomfortable, you want relief now. But jumping straight to icy temperatures sends flushed, sun-stressed skin into a kind of mixed-up body signal state, where blood vessels overcorrect and inflammation can actually spike afterward. Rinse first with water that’s cool but not shocking. Let your skin acclimate for a minute or two before going any cooler.
Use damp towels, refrigerated, not frozen.
Keep a stack of thin cotton towels in the fridge — not the freezer — for exactly this moment. Dampen them slightly, lay them over the reddest areas for five to ten minutes at a time, and repeat every hour or so through the evening. This is the gentlest form of thermal cooling, and it gives your skin time to adjust rather than react.
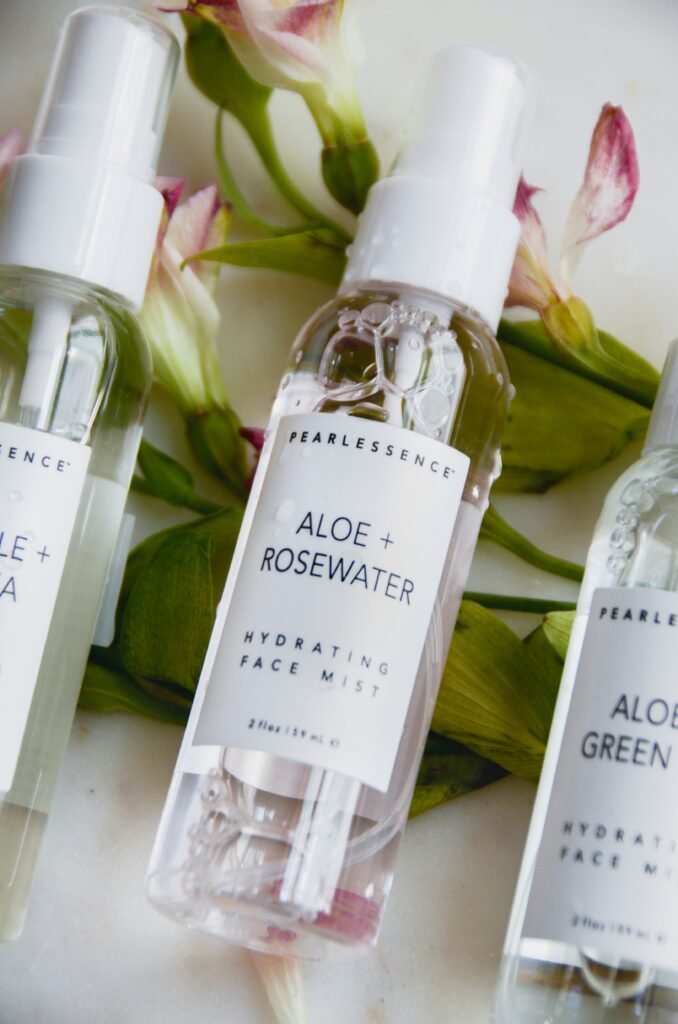
Layer on a chilled aloe or centella gel.
Once the initial heat has come down a notch, a gel formulated with aloe vera or centella asiatica (sometimes labeled cica) does the real soothing work. Keep the tube in the fridge — the cool texture on application adds a second layer of gentle relief, and centella in particular has a long history in skin-calming formulas across Korean and French pharmacy skincare alike. Apply in a thin layer, let it absorb, reapply as needed. This step alone is often the difference between skin that calms down by morning and skin that stays inflamed for days.
Step 2: Moisture and Barrier Sealing
Sun exposure, salt water, and pool chemicals form a rather brutal trio for your skin barrier — the thin outer layer that keeps moisture in and irritants out. Salt water pulls moisture out through osmosis, chlorine strips the surface oils, and UV rays break down the very proteins holding everything together. By the time you’re home, that barrier is, frankly, a bit of a mess.
Reach for ceramides first.
Ceramides are the lipids that naturally cement your skin cells together, and after a week of environmental stress, yours are almost certainly depleted. A moisturizer or serum with ceramides helps rebuild that mortar between the bricks, so to speak. I’m always a little skeptical of ingredient lists that promise everything, but ceramides are one of the few things I’ve found consistently do what they say — plain, unglamorous, effective.
Follow with panthenol for elasticity and comfort.
Panthenol (provitamin B5) draws moisture into the skin and supports the barrier’s own repair process, and it has a slightly cushioning feel that makes irritated skin genuinely more comfortable to touch. Products combining ceramides and panthenol are increasingly common in after-sun and barrier-repair lines, which, in fairness, took me a while to appreciate — I used to think barrier creams were a marketing category invented to sell more moisturizer. They’re not. They just work quietly, which makes them easy to underrate.
Don’t skip the body — face isn’t the only barrier that suffered.
Most after-sun routines stop at the face. But shoulders, chest, and the tops of feet usually take the worst of the sun and salt combination, and they deserve the same ceramide-panthenol layering, applied while skin is still slightly damp to help lock moisture in.
Step 3: The 3-Day Cosmetic Diet
This is the step people skip, and it’s the one that matters most.
Pause active ingredients for 72 hours.
Retinoids, exfoliating acids (AHAs, BHAs), vitamin C in high concentrations, even some fragranced products — all of them ask your skin to do work it simply cannot handle right now. A barrier that’s still patching itself up doesn’t need active ingredients nudging cell turnover or targeting pigment. It needs quiet. Think of this 3 step after sun skin care approach less as a treatment plan and more as a temporary ceasefire.
Simplify to a bare-minimum routine.
Cleanser, barrier moisturizer, sunscreen (yes, even indoors near windows, and especially if you’re stepping back outside at all) — that’s the whole routine for three days. No masks promising deep exfoliation, no new products you picked up at the airport duty-free on a whim. This is not the week to test anything new, however tempting the packaging.
Support recovery from the inside too.
Hydration matters here in a way that’s easy to underestimate — water, yes, but also foods with a naturally higher water content, like cucumber or watermelon, plus foods rich in omega-3s, which several studies suggest may help support skin’s inflammatory response after UV exposure. This isn’t a strict diet in the clinical sense, more a gentle nudge toward foods that work with your skin rather than against it.
By day four, most people notice the tightness has eased and any peeling has calmed into something manageable rather than dramatic. Not everyone — skin recovery timelines vary quite a bit by skin type and how much sun exposure actually happened — but for most, three days of restraint does more than three days of product-layering ever would.
Editor’s Note: I’ve tested more after-sun products than I’d like to admit, and the ones that actually help are never the ones promising instant transformation. Skin repair is slow, faintly boring work — and the sooner you accept that, the faster your skin genuinely recovers. Skip the ice, skip the seven-step routine, and give your barrier three quiet days to do what it already knows how to do.
How to apply this:
- The night you get home: cool gradually with refrigerated damp towels before reaching for any product, and resist the ice tray entirely
- The first 72 hours: layer ceramide and panthenol-based moisturizer morning and night, and pause every active ingredient in your routine
- Anytime skin still feels tight or hot after day three: repeat the cooling step rather than adding new products, and consider whether sun exposure was more intense than usual
This feature is intended for inspirational and general skincare guidance purposes. Individual skin sensitivity, sun exposure levels, and recovery timelines vary — for sunburn beyond mild redness, blistering, or signs of heat illness, please consult a dermatologist or medical professional.
Leave a Reply